Last year I posted a guide on creating a ESXi 6.7 USB Installer on macOS without any 3rd party tools. This is an updated guide using ESXi 7.0b. I’ve included a short video demonstration. Note, this guide is based on macOS only, if you are using Windows please use the Rufus utility.
Prerequisites
- Download the ESXi Installation ISO (I used ESXi 7.0b)
- A USB Flash Drive Minimum 8GB
Step 1
Open Terminal and list the mounted disks using the diskutil list command.
diskutil listCode language: PHP (php)
Step 2
Insert the USB Flash then run the diskutil list command again.
diskutil listCode language: PHP (php)You should now see another disk show up, in my case disk3. Take note for the disk#.

Step 3
Now we need to format the drive with filesystem FAT32 and partition map MBR using the following command. Don’t forget to use the disk# number obtained in step 2.
diskutil eraseDisk MS-DOS "ESXI" MBR disk#Code language: PHP (php)
Step 4
Unmount the USB Drive, Note: This is not the same as Eject. Don’t forget to use the disk# number obtained in step 2.
diskutil unmountDisk /dev/disk#Code language: PHP (php)Step 5
Start the command line partitoner fdisk in interactive mode (You will need administrative privileges for this).
sudo fdisk -e /dev/disk#Code language: PHP (php)- Flag the first partition on the volume as active and bootable. “f 1“
- Write the changes. “write“
- Quit fdisk. “quit“
f 1
write
quit
Step 6
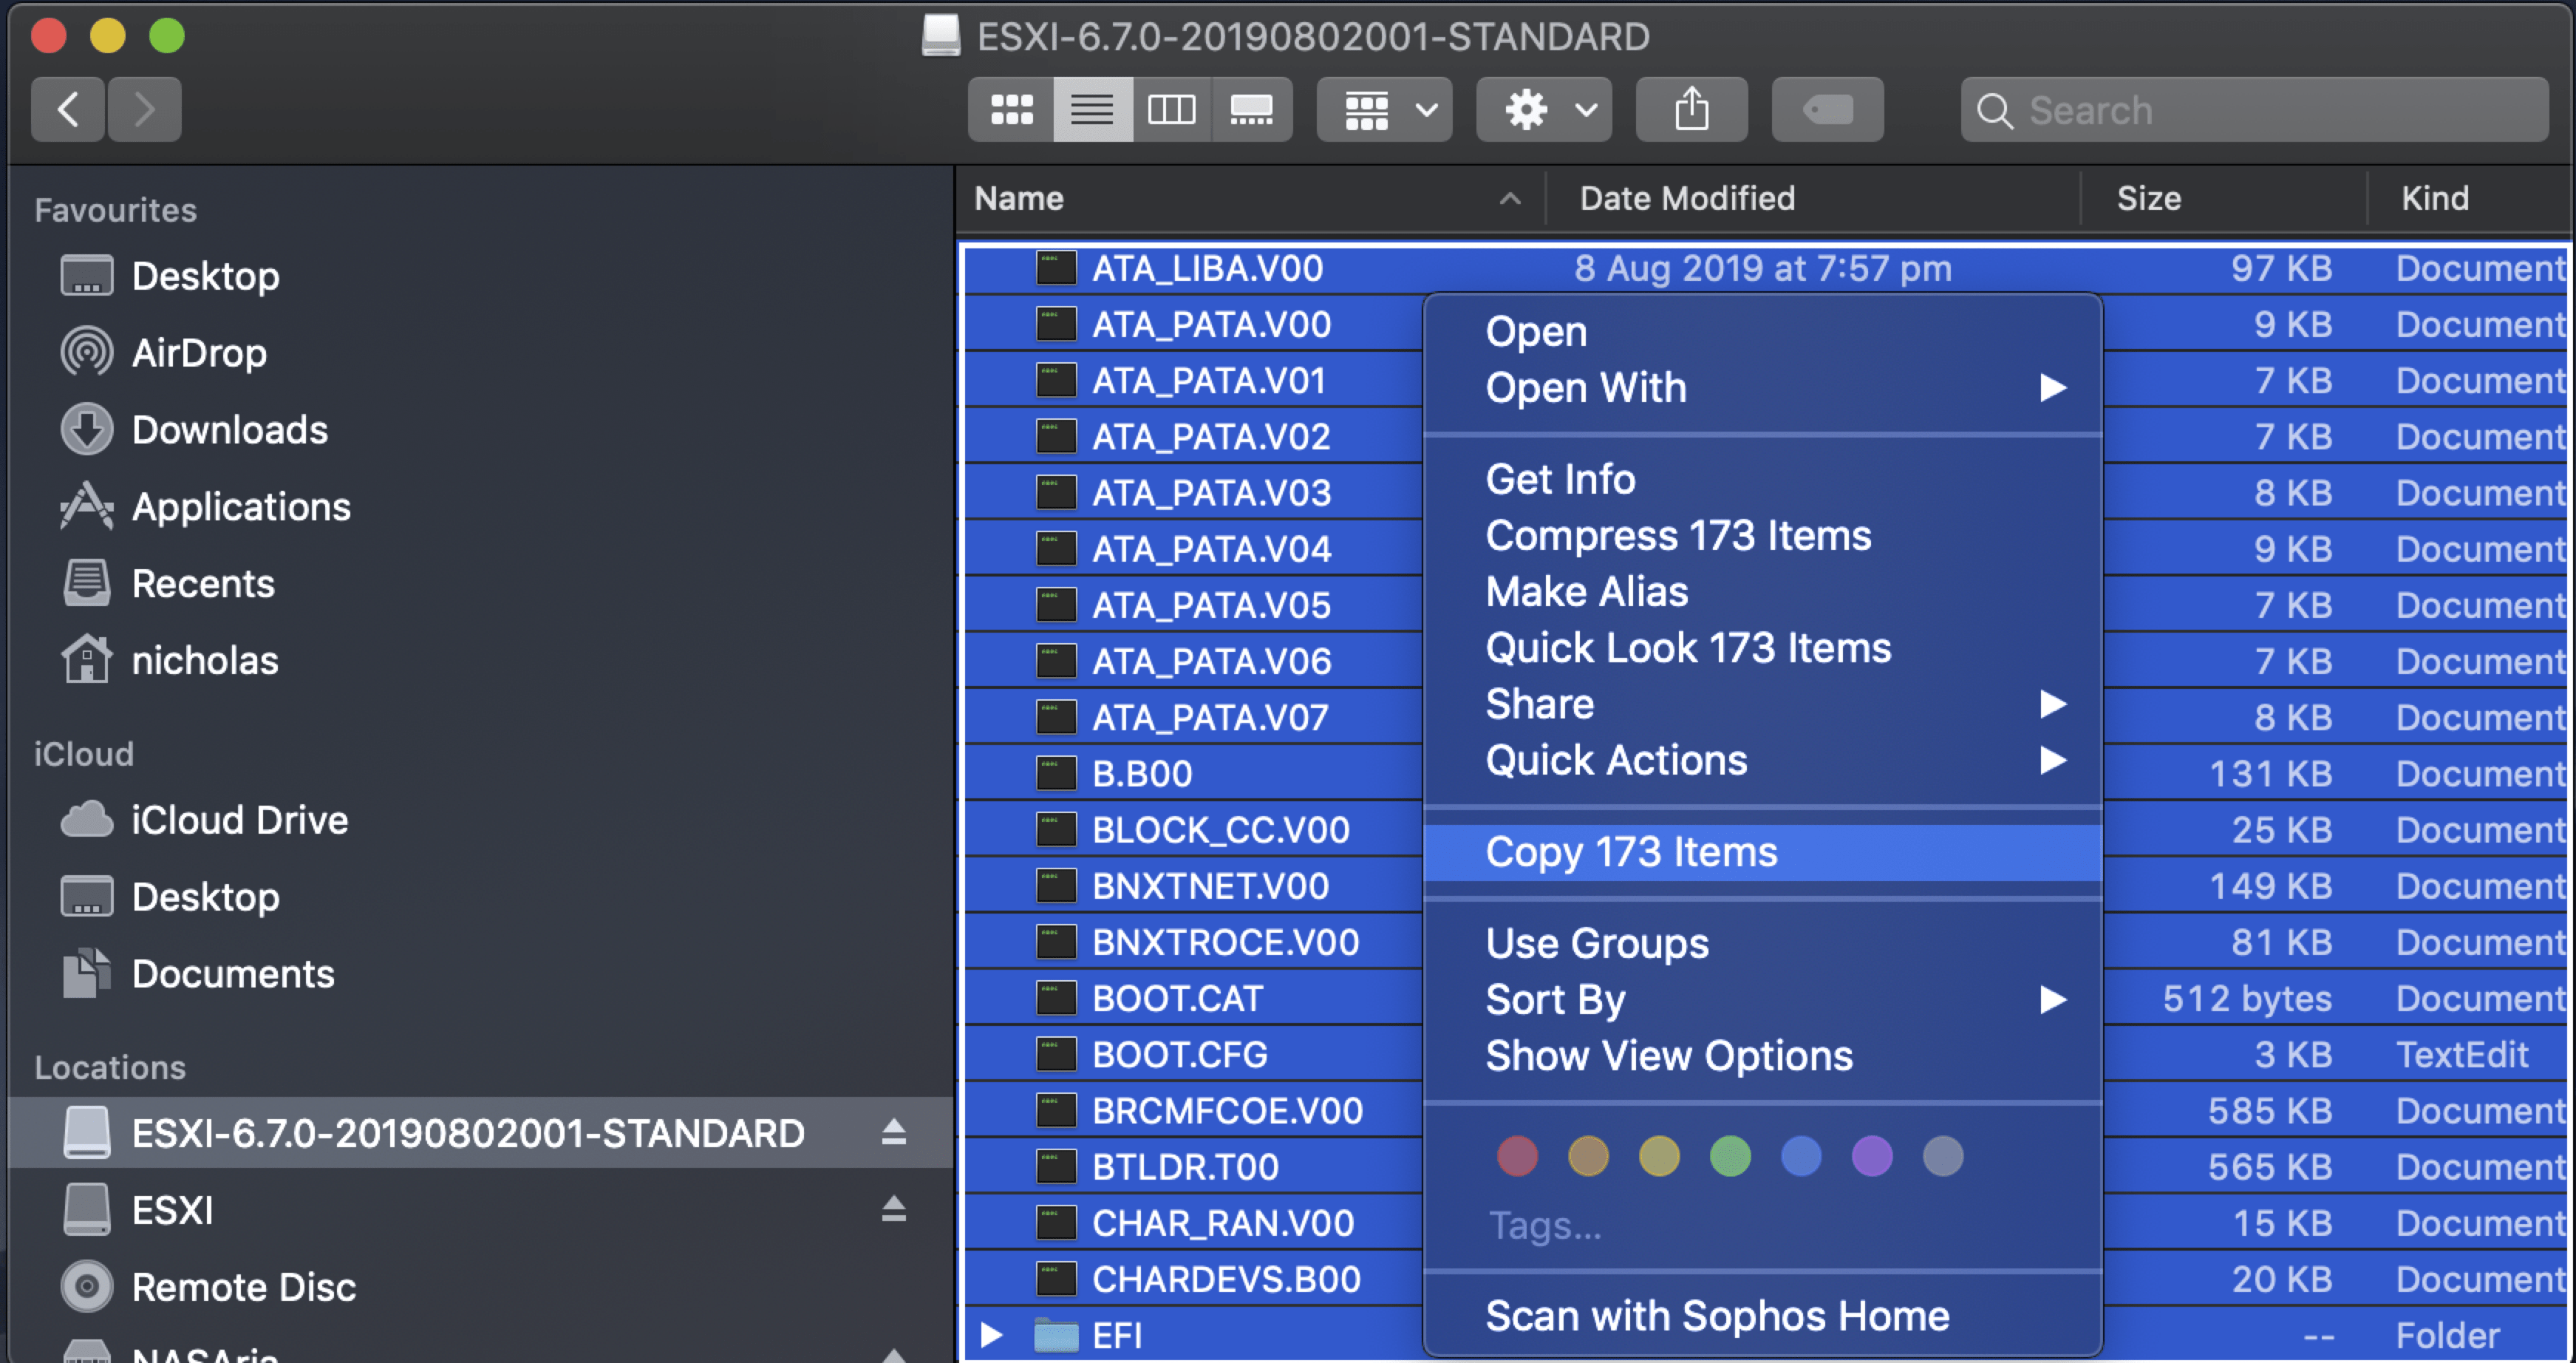
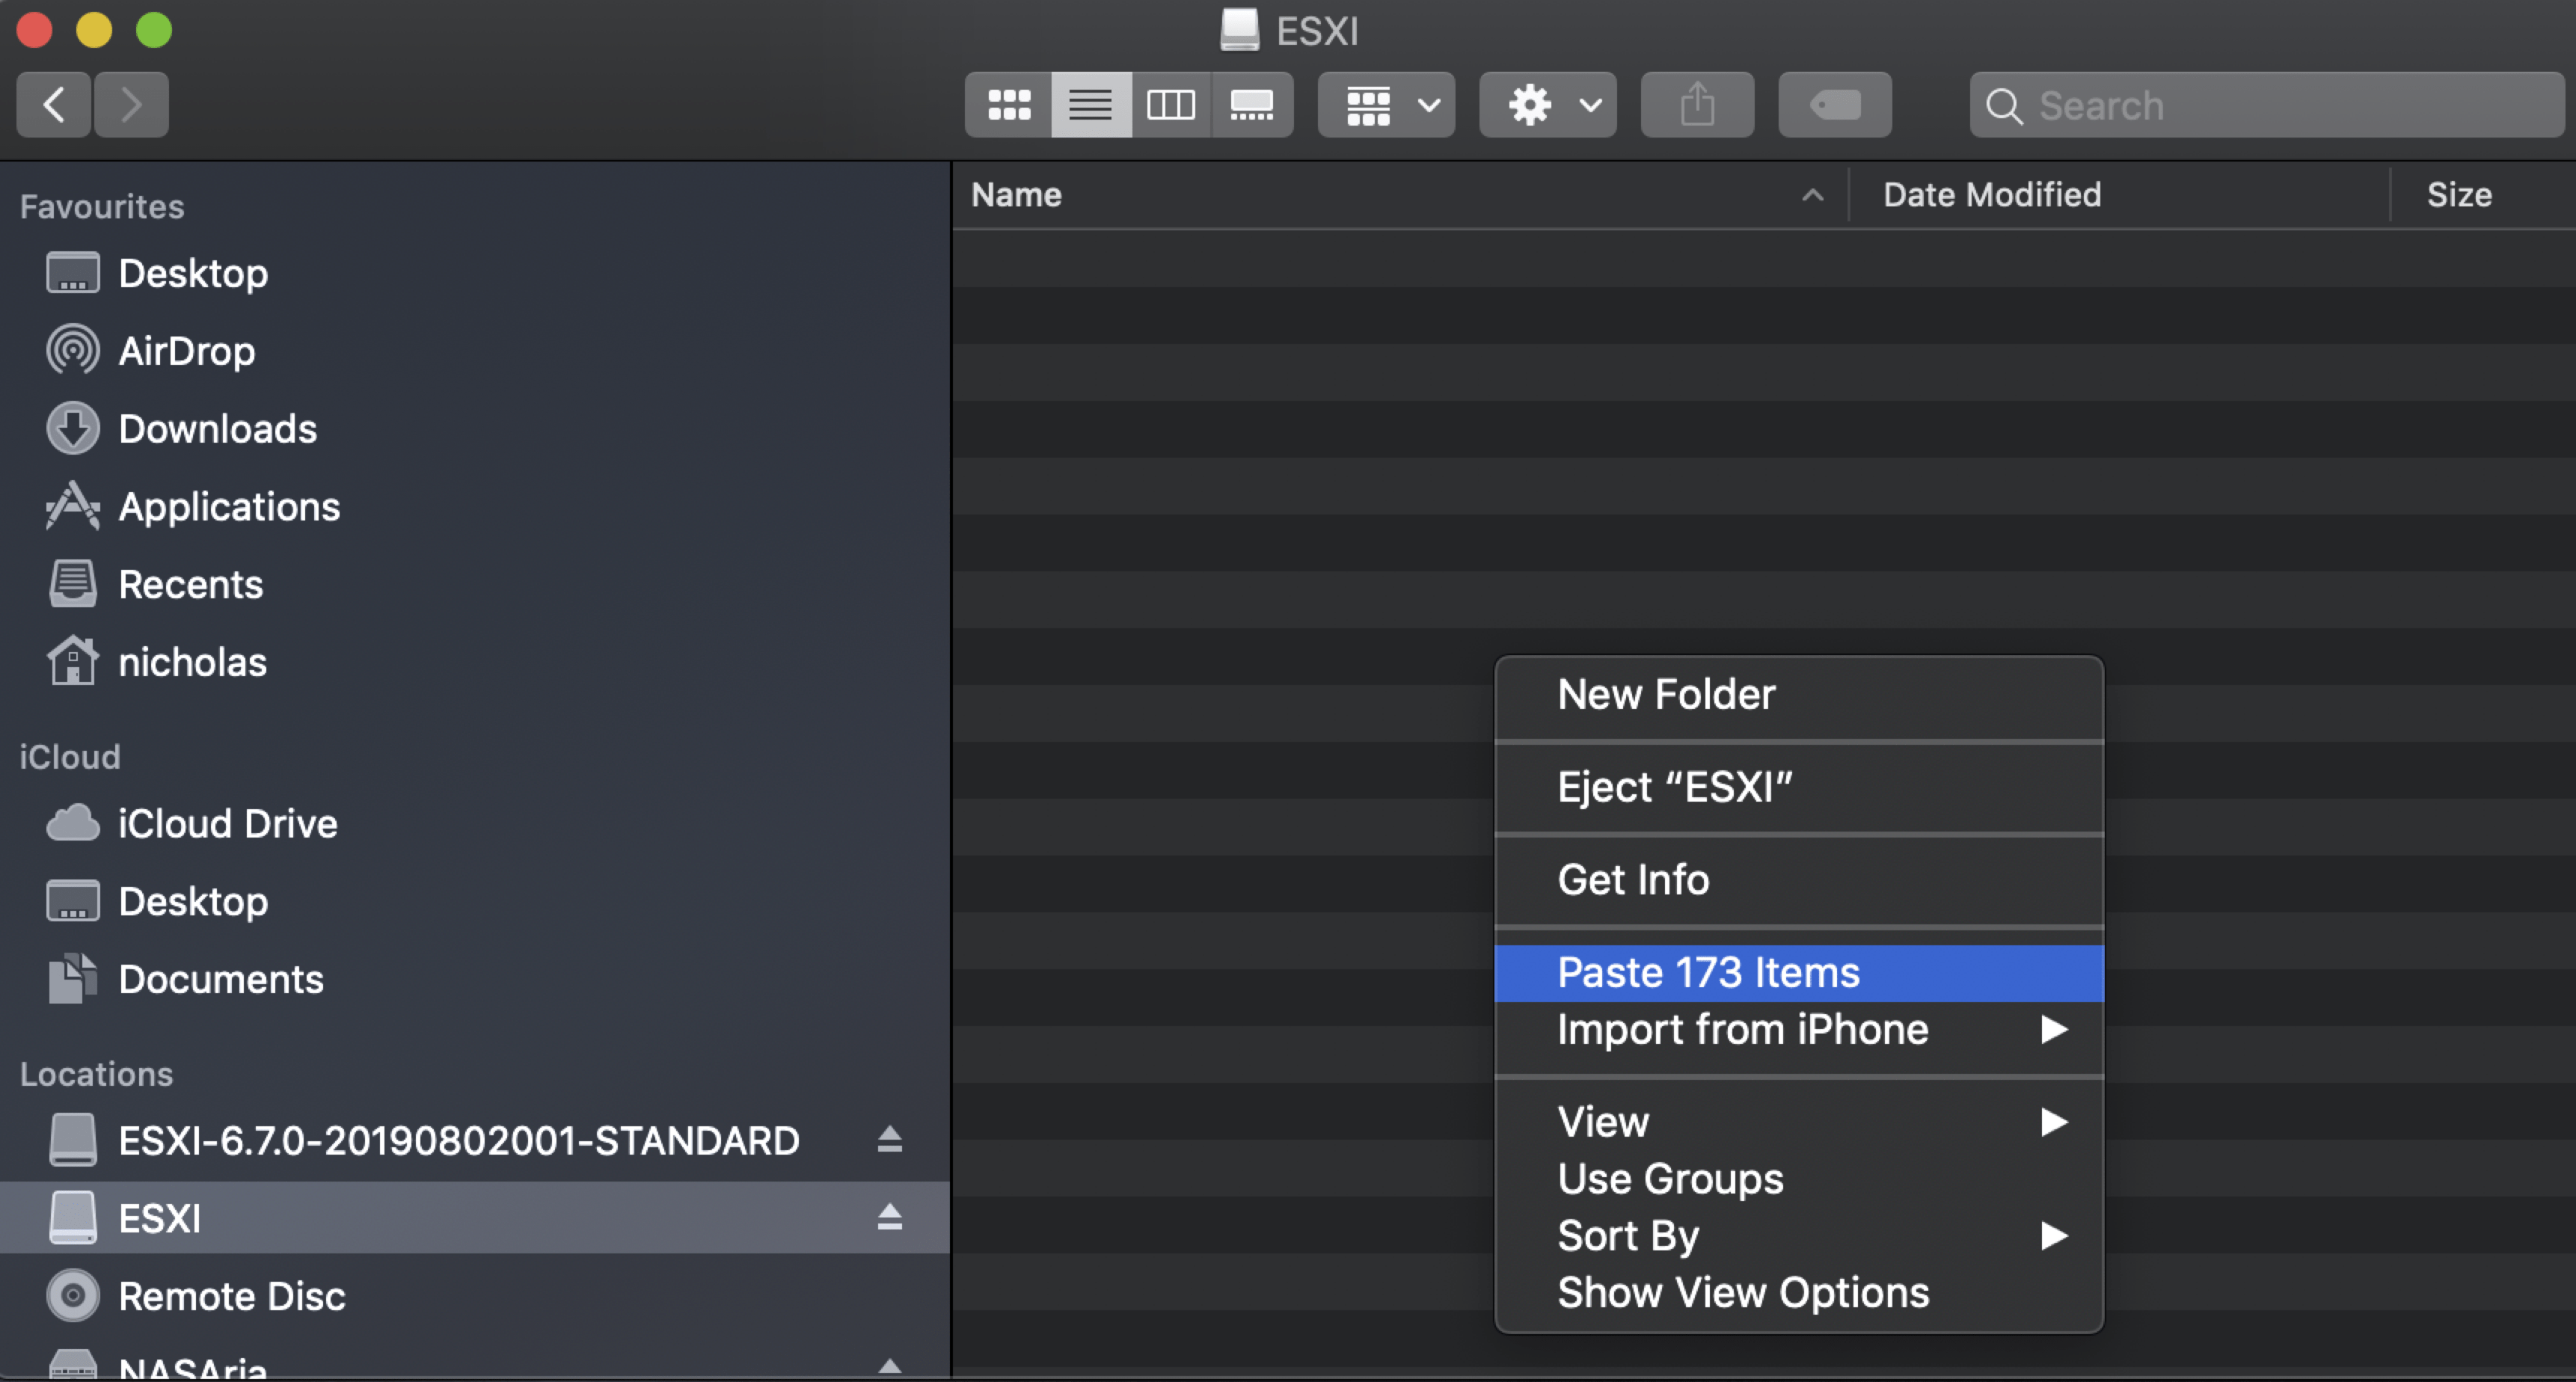
Mount the ESXi Installation ISO and copy all the contents from the ISO to the USB flash drive.
Step 7
Locate the file ISOLINUX.CFG on the flash drive and rename it SYSLINUX.CFG file.
Step 8
Edit the SYSLINUX.CFG file with TextEdit, Don’t use a Word program it will mess up the file. Find the line starting with APPEND -c boot.cfg and append -p 1 to it.
APPEND -c boot.cfg -p 1Code language: CSS (css)
Save and close the file and eject the USB flash drive.
Step 9
I booted the ESXi installer on my Intel NUC Skull Canyon successfully.

Here’s a Tip! the installer loads the files into memory so you can choose the same USB drive to install ESXi and boot from. Hope you enjoyed this guide.
It works great thank you
Thanks very much man. A bunch of other articles wouldn’t work but this did. Sucks balenaEtcher doesnt work with ESXi.
You’re Welcome 🙂
This is excellent. Thank you very much.
You’re Welcome Mike
Worked like a champ!
Having issues with My Nuc 9, ESXI installer not finding my NVMe, I have two. =/
Any idea?
Hi Danilo, so confirming the USB installer boots, and does it detect your USB?
Lifesaver. Thanks.
You’re welcome
any chance to integrate a custom Nic driver? could not find any solution if you are on a Mac and have no powershell
Hi Manuel, No, these steps cannot incorporate driver injection, you will need to create an image profile. I was actually going to blog how to do that at some point, I might test that out on MacOS. What driver are you trying to integrate?
Thank you!
After a struggle and a lot of self doubt, I found your clear article which helped me get this taken care of!
This article is very easy to follow. Thanks for sharing.
You Saved my life!!!!!! Thank you!!!!
Oh boy, you saved me. Works also with ESXi 8.0.1. Thank you.